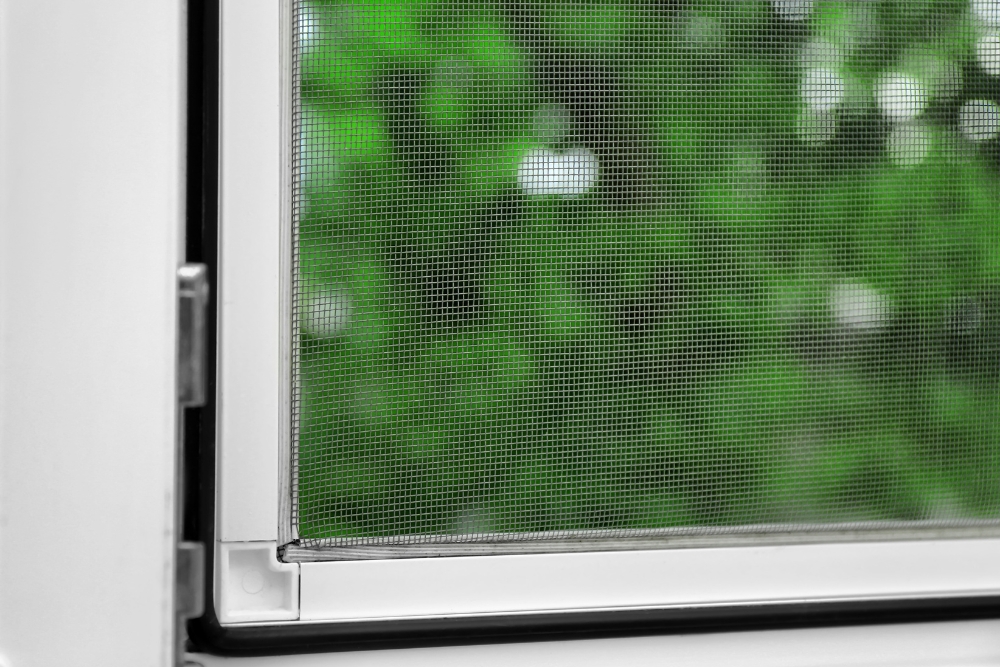
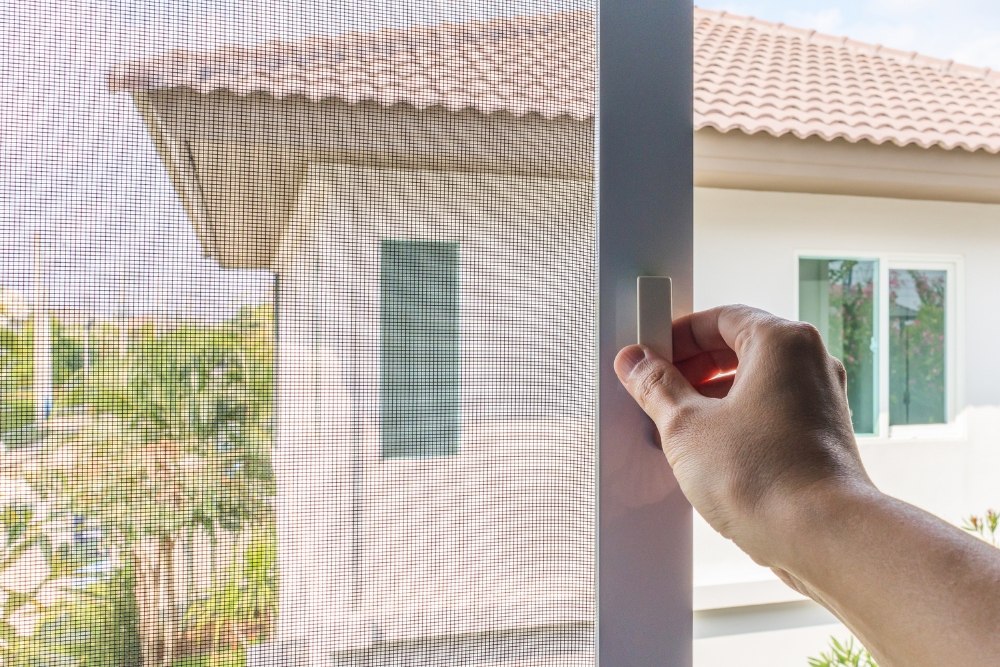
Ever found yourself in a bit of a bother, trying to match a screen to one of those charming but unconventional windows at your place? You’re not alone in this battle against the persistent critters that seem to have no regard for our quirky design choices.
Around 65% of Aussie homeowners reckon they’ve hit snags when trying to fit off-the-shelf screens onto their bespoke window frames. But don’t fret – this guide’s your new mate, pointing you down an easy track towards crafting custom screens that’ll keep those buzzing beasties outside where they belong.
So let’s roll up our sleeves for some top DIY tips and show these airborne annoyers the door!
Key Takeaways
- Custom screens for odd-shaped windows let you fit coverings to unique shapes at home or in the office, offering protection from insects and an appealing look.
- DIY screen-making can save money compared to buying custom-made ones, giving a sense of pride and accomplishment as well as a tailor-made finish.
- Installing Velcro insect screens is easy and cost-effective; they’re durable and can be removed or changed with minimal fuss.
- Materials needed for making your screens include aluminium or wood frame material, screen mesh, spline roller, corner connectors, tape measure, saw, scissors, and flat working surface.
- You can enhance the comfort of any space by installing custom-fit window screens designed specifically for nonstandard windows that don’t conform to traditional dimensions.
The Benefits of DIY Window Screens
Making your custom window screens allows you to tailor them to fit your unique needs, saving you money in the process. Plus, there’s an undeniable sense of satisfaction that comes from creating something yourself.
Tailored to Your Needs
Every window is unique, just like our homes and offices. That’s why we understand the importance of having custom screens for odd-shaped windows that conform precisely to your needs.
Whether you’re dealing with rhomboid windows, unconventional designs or non-standard shapes, a DIY solution lets you craft window treatments that fit perfectly. No gaps mean better protection from insects and improved aesthetic appeal.

We take pride in helping you create personalised coverings for those one-of-a-kind window styles. Our practical guide gives you the steps to measure, cut, and install custom flyscreens with confidence.
Not all windows come in standard sizes but worry not; our methods cater to even the most irregular dimensions. Say goodbye to unsightly makeshift fixes—your made-to-measure screens will look as if they were always part of your home or office facade.
Cost-Effective Solution
Custom screens for odd-shaped windows are a cost-effective solution for homeowners or office owners looking to cover nonstandard window shapes. Making your DIY window screens allows you to save money on custom-made options and tailor the solution to suit your individual needs.
By following simple steps to measure, cut, assemble and add screen mesh, you can achieve a tailored fit without breaking the bank.
In addition, creating your custom screens provides the satisfaction of crafting something unique that perfectly fits your unconventional windows. With this approach, you’ll not only save money but also enjoy the process of bringing your DIY window screens to life with minimal investment in tools and materials.
Satisfaction of Creation
Creating your custom window screens can be incredibly satisfying. Whether you’re making them for unique window shapes or nonstandard sizes, the sense of accomplishment as you bring your DIY project to life is truly rewarding.
From gathering the materials and measuring the frame to assembling it and adding the screen mesh, each step allows you to tailor the screen exactly to your needs. Seeing your custom flyscreens or adjustable window screens fitting perfectly into those unconventional windows brings a sense of pride in creating something practical and tailored specifically for your space.
As home or office owners, embracing the satisfaction of creation with DIY window screens can not only save costs but also provide a customised solution that perfectly matches your requirements while enhancing functionality and aesthetics.
Crafting bespoke screens for odd-shaped windows allows you to enjoy fresh air without any worries about insects invading your space.
How to Make Your Custom Window Screens
Gathering the necessary materials and tools is essential for creating your DIY window screens. Once you have everything you need, measuring and cutting the frame to fit your unique window shape is the next step.
Assembling the frame, adding the screen mesh, and bringing your custom window screens to life completes the process.
Gathering Materials and Tools
To start making your custom window screens, gather the essential materials and tools. You’ll need a sturdy frame material such as aluminium or wood, a screen mesh in the appropriate size, corner connectors, a spline (the rubber tubing that holds the mesh in place), and a spline roller.
Don’t forget to have a tape measure, hacksaw or mitre saw for cutting the frame material, and scissors to trim the screen mesh. A flat surface to work on will also be necessary.
Once you have all your materials and tools ready, it’s time to move on to measuring and cutting the frame for your custom window screens.
Measuring and Cutting the Frame
To measure and cut the frame for your custom window screens, follow these steps:
- Measure the dimensions of your window frame using a tape measure. Ensure to note down accurate measurements for both height and width.
- Using a hack saw, carefully cut the aluminium or wooden frame pieces according to the measured dimensions.
- Smooth out any rough edges on the cut pieces using a file or sandpaper to ensure a precise fit.
- Assemble the frame by joining the cut pieces together at the corners with screws or corner connectors, ensuring they are aligned properly.
- Double-check the measurements and make any necessary adjustments before proceeding to attach the screen mesh.
Assembling the Frame
After measuring and cutting the frame, the next step is assembling the frame. Here’s how you can put it all together:
- Lay out the pieces of the frame according to your measurements and ensure all corners are square.
- Use corner brackets to secure each corner of the frame together.
- Double-check that the frame is square and adjust if necessary before tightening the corner brackets securely.
- Once the corners are secured, reinforce each joint with screws for added stability.
- Test fit the screen mesh by laying it over the assembled frame to ensure a proper fit before attaching it permanently.
Adding the Screen Mesh
Now that the frame is assembled, it’s time to add the screen mesh. This step is crucial in ensuring your DIY window screens are effective in keeping insects out while allowing fresh air to flow through. Let’s guide you through the process:
- Lay the frame on a flat surface, ensuring it’s stable and won’t move during the next steps.
- Unroll the screen mesh and lay it over the frame, allowing for a few inches of overlap on each side.
- Use a flat tool, such as a spline roller, to press the screen into the frame’s channel on one side, starting from the centre and moving outward.
- Repeat this process on all four sides, ensuring the screen remains taut without any sagging or wrinkles.
- Trim any excess mesh using sharp scissors, leaving a small margin around the edges for securing.
- Finally, use a smooth-edged tool to press down on the spline (the rubber or foam strip that holds the screen in place) to secure it firmly into the channel.
Bringing Your DIY Window Screens to Life
Now that you have assembled the frame and added the screen mesh to your custom window screens, it’s time to bring them to life. Carefully place the finished DIY screens into your windows, making sure they fit snugly in place.
Secure the screens with appropriate fasteners like hooks or screws if necessary. Once installed, take a step back and admire your handiwork – your custom-made window screens are now ready to keep out pests while allowing fresh air to flow through.
Assemble the frame and attach the screen mesh, then carefully install the finished DIY custom window screens using appropriate fasteners. Step back and admire your handiwork as you enjoy bug-free fresh air flowing through your uniquely tailored window coverings.

What are Velcro Insect Screens?
Velco Insect Screens are a convenient and cost-effective solution for keeping bugs out while allowing fresh air to flow in. They are easy to install and maintain, making them a popular choice for custom window screens.
Related Products
Looking for a fuss-free way to keep insects out while letting fresh air in? Consider investing in retractable blinds. They are easy to install and maintain, providing an adjustable solution for nonstandard windows.
These customised options come in various sizes and are perfect for unconventional window designs.
If you prefer a more temporary option, magnetic window screens are a great choice. They offer a hassle-free installation process and can be easily removed when not needed. These bespoke screens provide a tailored solution for irregular window sizes, ensuring that you can enjoy the bug-free fresh air at your convenience without compromising on aesthetics or functionality.
Advantages
Custom screens for odd-shaped windows offer several advantages for home or office owners, including:
- Enhanced Protection: Protects your interior space from insects, dust, and debris while allowing fresh air to circulate.
- Tailored Fit: Ensures a perfect fit for irregular or nonstandard window shapes, providing a seamless and aesthetically pleasing look.
- DIY Cost Savings: Save on installation costs by creating your custom screens to fit your unique window sizes.
- Flexibility: Allows for easy removal and storage when not in use, making them ideal for seasonal insect control.
- Durability: Offers long-lasting performance with sturdy materials that withstand the elements and regular use.
- Customisation Options: Choose from a variety of screen materials, colours, and styles to match your specific preferences and needs.
- Easy Maintenance: Simple to clean and maintain, ensuring ongoing functionality without hassle.
Installation and Maintenance Tips
Installing and maintaining Velcro insect screens is simple and cost-effective. Follow these tips for the best results.
- Clean the window frame thoroughly before installation to ensure good adhesion for the Velcro strips.
- Measure the dimensions of your window accurately to ensure a perfect fit for the insect screen.
- Carefully apply the Velcro strips to both the window frame and the screen, ensuring they are aligned correctly.
- Regularly clean the screen mesh using a mild detergent and water to keep it free from dust and debris.
- Inspect the Velcro strips regularly for any signs of wear or damage, replacing them as needed to maintain a secure fit.
Enjoy Bug-Free Fresh Air with Custom Screens for Odd-Shaped Windows
Relish the satisfaction of creating your custom window screens that perfectly fit your unique windows. Embrace the cost-effective solution and tailor-made benefits of DIY window screens.
Experience the joy of bug-free fresh air with bespoke insect screens for unconventional window shapes. Maximise comfort and functionality in your space with personalised coverings for non-traditional window designs. Say goodbye to limitations and hello to tailored solutions for irregular window sizes!

